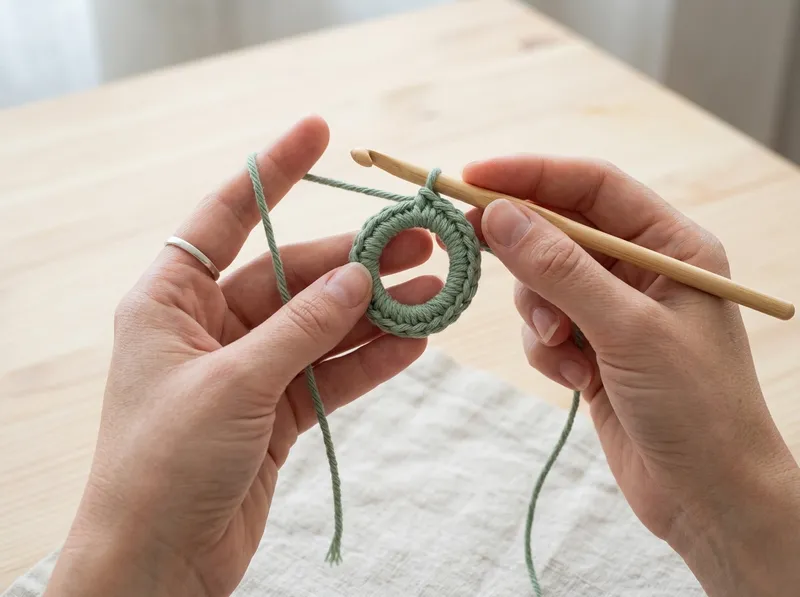
The Magic Ring (also known as a Magic Circle or Adjustable Loop) is one of the most essential techniques in modern crochet.
If you have ever tried making a circular project—like an amigurumi animal, a granny square center, a flower, or a top-down beanie—using the traditional “chain 4 and join” method, you probably noticed a noticeable hole left right in the middle.
The magic ring solves this problem completely! It creates an adjustable loop that you can pull completely tight, closing the center hole seamless and flat.
📸 Step-by-Step Magic Ring Method
Follow these 5 easy steps to master the magic ring:
- Wrap the Yarn: Drape the yarn over your non-dominant hand. Wrap the working yarn around your index and middle finger from front to back, crossing over to form an ‘X’ shape on top of your fingers.
- Hold the Intersection: Use your thumb to hold the crossed yarn intersection in place.
- Insert the Hook: Insert your crochet hook under the right-hand strand of the ‘X’ and hook under the left-hand strand.
- Pull Up a Loop & Chain: Pull the yarn back under the first strand to create a loop on your hook. Chain 1 to lock the magic ring in place.
- Work Your Stitches: Work your required single crochet (or double crochet) stitches directly over both strands of the ring loop.
- Pull Tight: Grab the short yarn tail end and pull firmly! The hole will cinch tight.
💡 Magic Ring Troubleshooting & Tips
[!NOTE] Magic Ring Alternative: If you are struggling with the magic ring, chain 2 and work your Round 1 single crochets directly into the 2nd chain from your hook!
[!WARNING] Securing the Tail: Always weave your magic ring yarn tail back and forth inside the center stitches using a tapestry needle! If you cut the tail short without weaving it, the magic ring can unravel over time when washed.